|
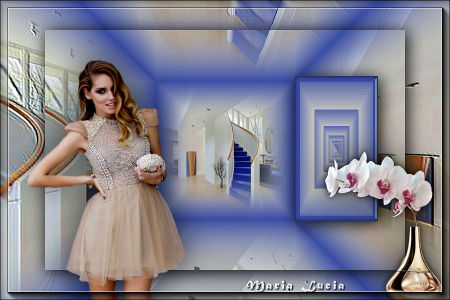
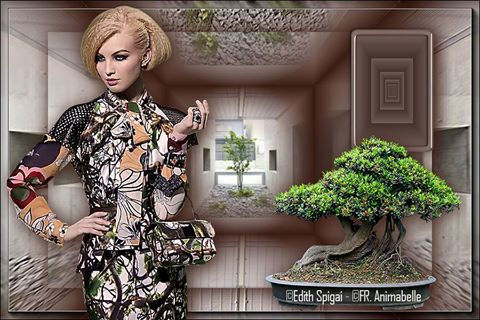
**DIMENSÃO**
(EdithSpigai)
MATERIAL
-Efeitos do PSP_X8
-Plugin Flaming Pear > Flexify_2
-Plugin Alien Skim Eye Candy 5: Impact > Glass
-Plugin AAA Frames > Foto Frame
-Plugim AAA Filters > Custom
-Tubes e Misted
ROTEIRO
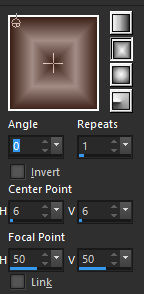
1- Abra uma Nova Imagem Transparente de 900 x 600 pxs,
preencha com um gradiente rectangular
formado por duas cores:
1° Plano = (#3b2118)
2° Plano = (#a38c85)
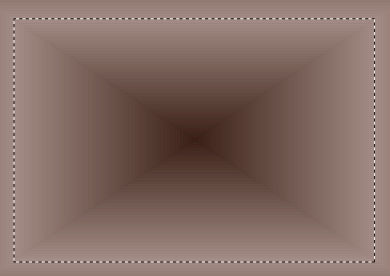
2- Effects > Edge Effects > Enhance More
3- Select All > Copy em seu misted e Past into Selection.
Select > None.
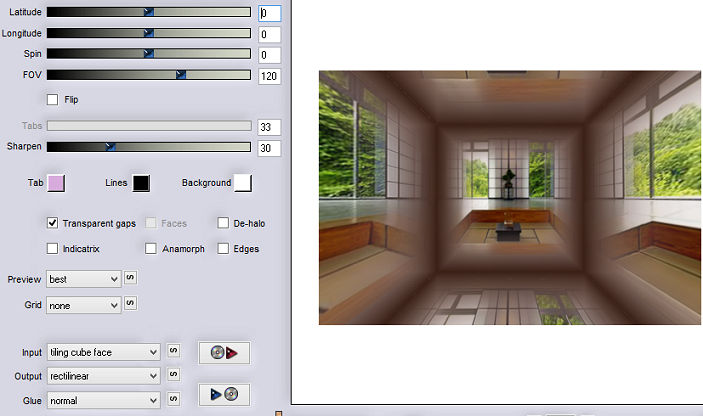
4- Plugin Flaming Pear > Flexify_2
5- Layers > Duplicate
6- Image > Resize 80%
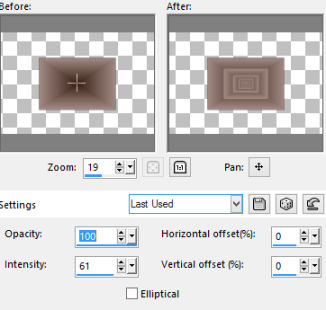
7- Effects > Drop Shadow > 4/4/100/50
8- Volte a Raster 1 > User Defined > Emboss_3
9- Layers > Merge Down (reserve esta layer)
10- Nova Layer e preencha com o mesmo gradiente do item
1
11- Effects > Edge Effects > Enhance More
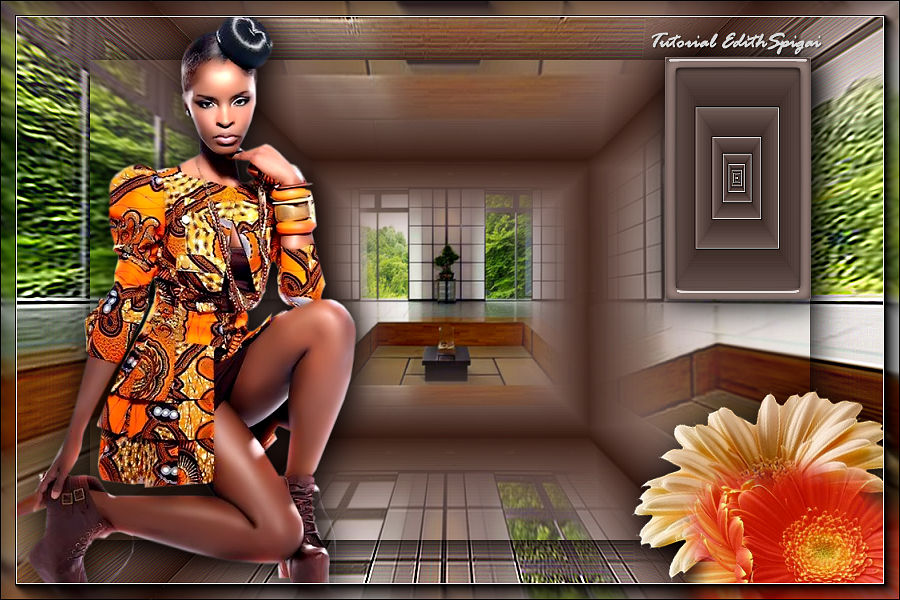
12- Com a ferramenta Selection Tool em retangulo >
selecione o retangulo central da figura.
13- Selection > Invert e delete no teclado > Select None
14- Effects > Reflection Effects > Feedback
15- Image > Resize 50%
16- Adjust > Brightness and Contrast > Brightness/Contrast
> -117/0
17- Selecione com a ferramenta Magic Wand > Selection >
Invert
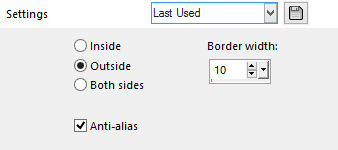
18- Selections > Modify > Select Selection Borders
19- Nova Layer e preencha com uma das cores do item 1 >
Select > None
20- Plugin Alien Skim Eye Candy 5: Impact > Glass
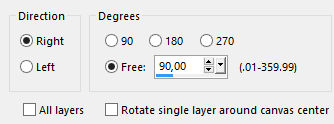
21- Image > Free Rotate
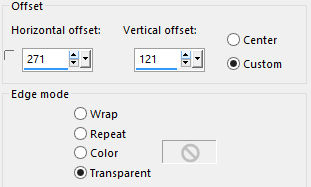
22- Effects > Image Effects > OffSet > 271/121 - Custom
e Transparente marcados.
23- Effects > Drop Shadow > 4/4/100/50
24- Aplique seus tubes, usando Drop Shadow.
25- Layers > Merge Visible
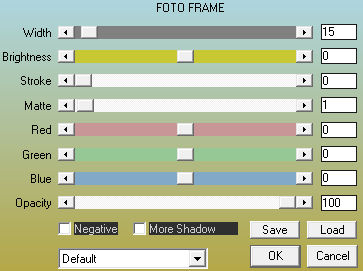
26- Plugin AAA Frames > Foto Frame
27- Plugim AAA Filters > Custom > Sharp (ou como
preferir...)
28- Assine e salve em jpeg.
** Tutorial Elaborado em São Paulo_Brasil_28/06/2017 por
Edith Spigai **
CRÉDITOS:
Tube: By Thafsuth
Misted: By Luz Cristina
Tutorial: Edith Spigai
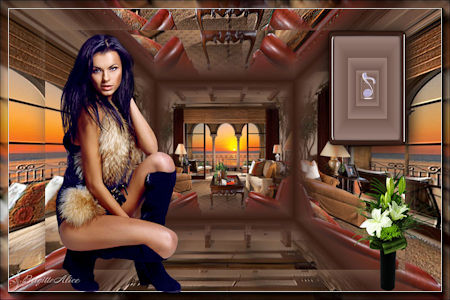
| Marcita 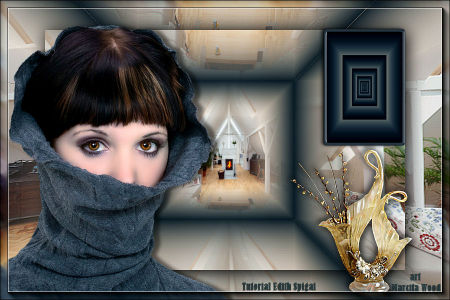 |
Maria Lucia
|
Tete
|
| Geuza  |
Vera Jarude
 |
Animabelle
 |
| Vera Mendes
 |
Inge_Lore
 |
Brigitte
 |
| Gypsie
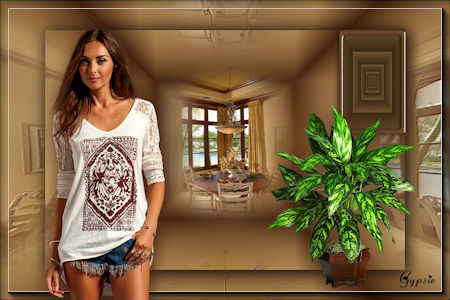 |
Natalia
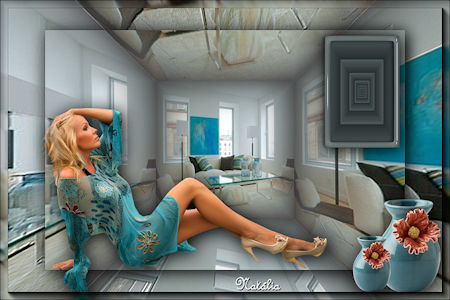 |
Maria Dalva
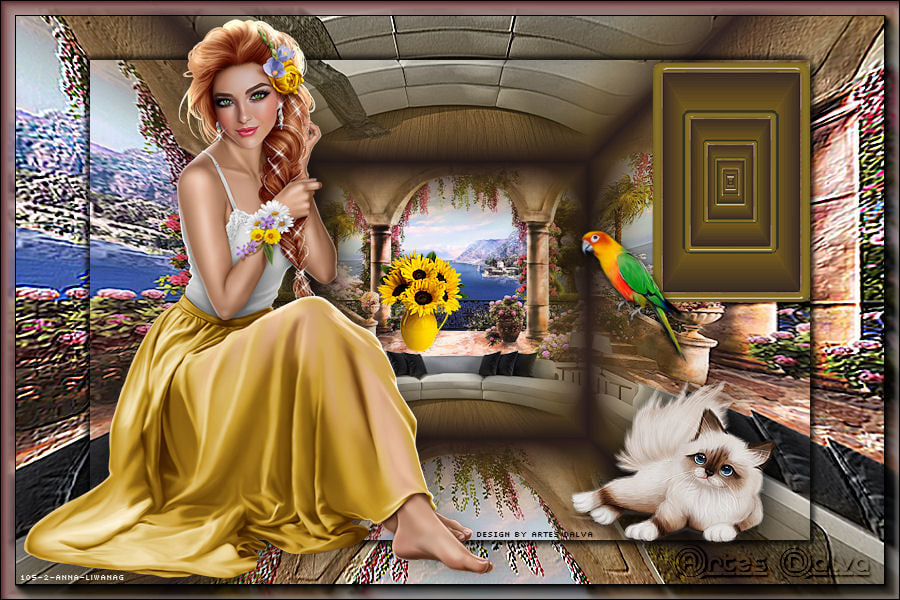 |

|